

Installing insulation in ceiling spaces is one of the most effective home improvements you can make to reduce energy costs and improve year-round comfort. Whether you're tackling a renovation, building new, or simply upgrading an older home, proper ceiling insulation can reduce heat loss in winter by up to 45% and keep your home cooler during scorching Australian summers. This comprehensive guide walks you through everything you need to know about installing insulation in ceiling areas, from selecting the right materials and R-values to executing a safe, compliant installation that delivers lasting performance.
Understanding Ceiling Insulation Basics
Before installing insulation in ceiling cavities, it's crucial to understand how different insulation types work and which product suits your specific project. Ceiling insulation primarily comes in three formats: batts (pre-cut panels), blankets (continuous rolls), and blown-in or loose-fill options.
Batts and blankets are the most popular choice for DIY installers because they're relatively straightforward to handle and cut to size. Glasswool products manufactured with ECOSE® Technology offer excellent thermal performance while being soft to touch and low in dust. These products are designed to fit between standard ceiling joist spacings, typically 450mm or 600mm in Australian homes.
Key Performance Metrics
When selecting ceiling insulation, focus on these critical specifications:
- R-value: Measures thermal resistance; higher numbers mean better insulation performance
- Thickness: Directly influences R-value and must fit within your ceiling cavity depth
- Coverage area: Determines how many packs or rolls you'll need for your project
- Density: Higher-density products often provide better acoustic control alongside thermal benefits
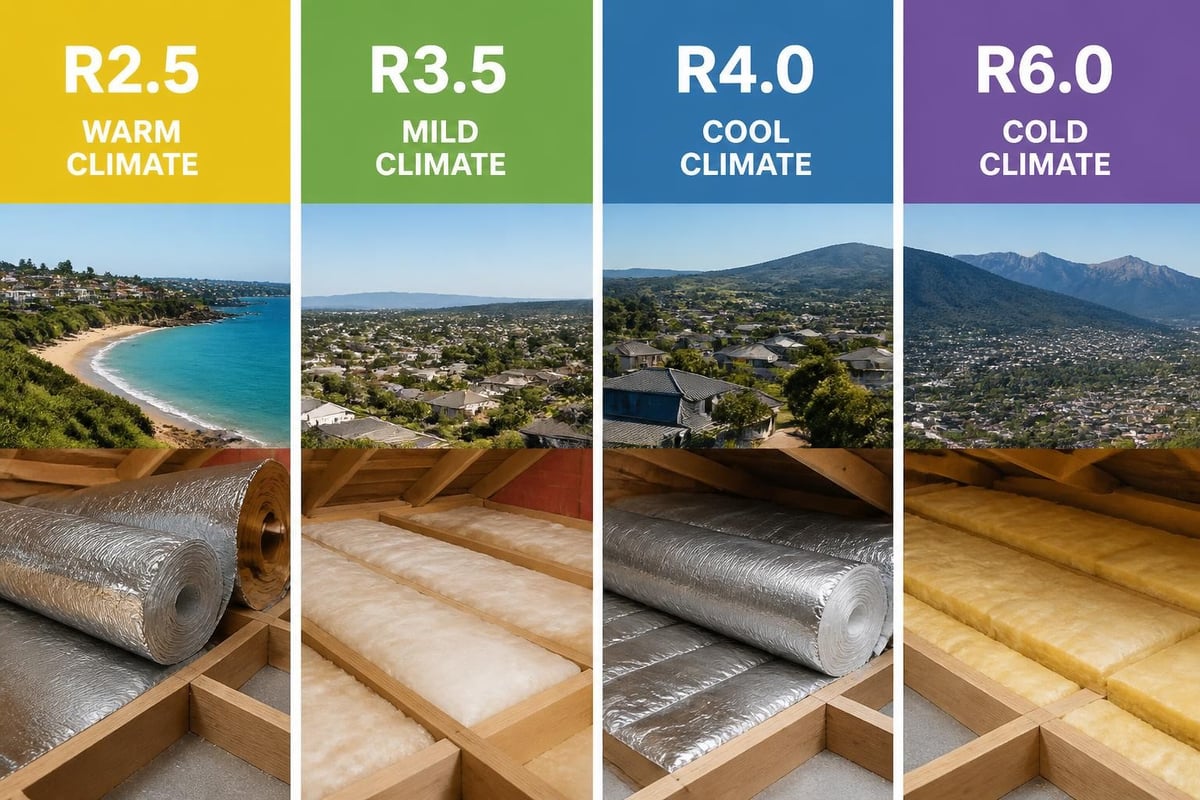
Understanding climate zones in Australia helps you choose the appropriate R-value for your location. Melbourne and regional Victoria typically require R4.0 to R6.0 for optimal ceiling performance, though specific requirements depend on your exact climate zone and building design.
Safety Equipment and Preparation
Installing insulation in ceiling areas requires proper safety equipment and thorough preparation. Working in roof spaces presents specific hazards that must be addressed before you begin.
Essential safety gear includes:
- Disposable coveralls or old long-sleeved clothing
- Dust mask or P2 respirator (mandatory when working with insulation)
- Safety glasses or goggles
- Gloves (disposable nitrile or leather work gloves)
- Hard hat if ceiling height is limited
- Sturdy boots with good grip
- Head torch or hands-free lighting
Never enter a ceiling space during hot weather or middle of the day. Roof cavities can exceed 60°C in summer, creating dangerous working conditions. Early morning is ideal, and always have someone else home who knows you're working overhead.
Pre-Installation Checklist
Before installing insulation in ceiling spaces, complete these preparation steps:
- Measure your ceiling area accurately – calculate total square metres needed
- Check ceiling joist spacing – verify whether joists are 450mm or 600mm centres
- Inspect for moisture issues – look for water stains, leaks or condensation
- Identify electrical wiring and fixtures – note locations of downlights and junction boxes
- Clear the workspace – remove any existing damaged insulation or debris
- Ensure adequate access – manhole size must allow safe entry with materials
The ENERGY STAR attic insulation guide provides detailed preparation checklists and safety considerations applicable to Australian ceiling installations.
Selecting the Right Insulation Product
Choosing appropriate materials is fundamental to successful ceiling insulation installation. Your decision should balance thermal performance, budget, installation ease, and specific building requirements.
| Product Type | R-Value Range | Best For | Installation Difficulty |
|---|---|---|---|
| Glasswool Batts | R2.5 – R6.0 | Standard ceiling joists | Easy – Moderate |
| Glasswool Blanket | R3.0 – R4.0 | Continuous coverage | Moderate |
| Polyester Batts | R2.0 – R4.0 | Moisture-prone areas | Easy |
| Reflective Foil | R1.5 – R2.5 | Used with bulk insulation | Moderate – Difficult |
For most residential ceiling applications in Victoria, glasswool batts between R4.0 and R6.0 deliver excellent thermal performance. The Earthwool ceiling insulation range manufactured by Knauf offers premium options with advanced ECOSE® Technology, making them softer to handle and easier to install than traditional glasswool products.
Calculating Material Quantities
Accurate material calculation prevents project delays and unnecessary waste. Measure your ceiling area in square metres, then add 5-10% for cuts, odd-shaped spaces, and potential errors.
Standard batt coverage:
- R4.0 batts (140mm thick, 580mm wide) typically cover 6-7m² per pack
- R6.0 batts (260mm thick, 580mm wide) typically cover 4-5m² per pack
Check individual product specifications for exact coverage, as this varies between manufacturers and thicknesses.
Step-by-Step Installation Process
Installing insulation in ceiling cavities follows a systematic approach that ensures complete coverage and proper performance. Start from the furthest point from your access hatch and work backwards toward the exit.
Installing Batts Between Joists
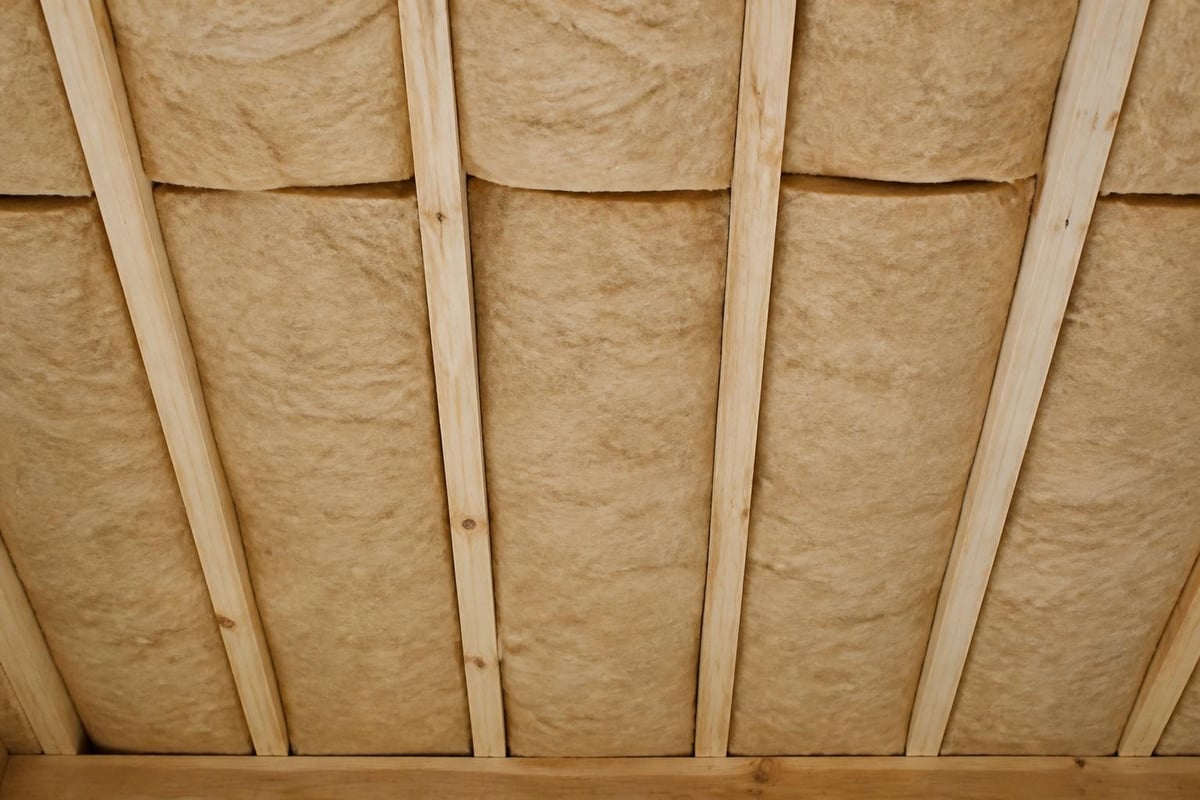
Begin by positioning the first batt between ceiling joists. Glasswool batts are designed to friction-fit snugly between standard joist spacing without compression. Never compress insulation to make it fit – compression reduces R-value and thermal performance.
- Unfold the batt carefully and position it perpendicular to ceiling joists
- Push gently into place allowing the batt to expand to full thickness
- Ensure complete contact with the ceiling surface below (no gaps or buckling)
- Butt adjoining batts tightly against each other with no overlaps or gaps
- Cut batts to length using a sharp knife or insulation saw for end-of-run pieces
When cutting batts, compress the material slightly with a straight edge, then cut with a sharp blade in a single smooth motion. This creates clean edges that fit snugly against framing.
Working Around Obstacles
Ceiling spaces contain numerous obstacles requiring careful attention during installation. The Building America Solution Center checklist outlines industry best practices for maintaining insulation integrity around penetrations.
Downlights and electrical fixtures:
- Maintain minimum clearances specified by manufacturer (typically 50-200mm)
- Never cover IC-rated (insulation contact) downlights unless specifically rated for coverage
- Use appropriate insulation covers or guards for non-IC downlights
- Mark fixture locations clearly before installing surrounding insulation
Plumbing and electrical wiring:
- Split batts to run on both sides of pipes where possible
- Don't compress insulation around wiring – maintain full loft
- Ensure cables aren't pinched or trapped beneath insulation
- Note locations of junction boxes and ensure they remain accessible
Addressing Ventilation and Airflow
Proper roof ventilation remains critical when installing insulation in ceiling areas. Adequate ventilation prevents moisture accumulation, extends roof life, and maintains insulation performance.
Maintaining Eaves Ventilation
Most Australian homes rely on eaves ventilation to promote airflow through roof cavities. When installing insulation, ensure you don't block soffit vents or ventilation pathways.
Best practices include:
- Leave 25-50mm clear space between insulation and roof deck at eaves
- Use insulation baffles or ventilation chutes where eaves clearance is limited
- Trim batts short of the external wall line if necessary to maintain airflow
- Check that insulation doesn't sag into ventilation pathways
Blocked ventilation can lead to condensation, mould growth, and premature deterioration of both insulation and roof structure. The Insulation Institute guidelines emphasize the importance of maintaining ventilation when adding or upgrading ceiling insulation.
Common Installation Mistakes to Avoid
Even experienced DIYers make errors when installing insulation in ceiling spaces. Understanding these common pitfalls helps you achieve professional results.
Compression and Gaps
The two most frequent installation errors are compressing insulation (reducing its R-value) and leaving gaps (creating thermal bridges). Both dramatically reduce overall thermal performance.
| Mistake | Impact | Solution |
|---|---|---|
| Compressing batts to fit | Reduces R-value by 30-50% | Use correct thickness for joist depth |
| Gaps between batts | Heat loss through gaps | Butt pieces tightly together |
| Misaligned batts | Uneven coverage | Straighten and reposition carefully |
| Insufficient thickness | Lower than design R-value | Verify product specs match requirements |
Access Hatch Insulation
Many installers forget to insulate the ceiling access hatch itself, creating a significant thermal weak point. The hatch should be insulated to the same R-value as the surrounding ceiling and fitted with weatherstripping to prevent air leakage.
Attach rigid insulation board to the back of the hatch cover, or create a removable insulated cap that sits over the hatch opening from above. This simple step can eliminate substantial heat loss through an otherwise well-insulated ceiling.
Compliance and Building Codes
Installing insulation in ceiling areas must comply with current Australian building codes and local regulations. While DIY installation is permitted for homeowners, the work must still meet minimum performance and safety standards.
The National Construction Code (NCC) sets minimum R-value requirements for different climate zones. For Melbourne and most of Victoria (Climate Zone 6), ceiling insulation must achieve minimum R4.0 in new construction. Renovations and retrofits should target similar or better performance where feasible.
Quality Installation Standards
The Insulation Council of Australia and New Zealand promotes Grade 1 installation standards adapted from RESNET guidelines. While these are primarily aimed at professional installers, they provide useful quality benchmarks for DIY projects:
- Complete fill of cavity areas with minimal gaps
- No compression or excessive compression of insulation
- Proper clearances maintained around heat-producing fixtures
- Insulation cut to fit snugly around penetrations
- Consistent installation technique throughout the project
Combining Products for Maximum Performance
Sometimes installing insulation in ceiling spaces involves combining different product types to achieve optimal thermal and acoustic performance. Layering strategies can boost R-values beyond what single products deliver.
Bulk Plus Reflective Systems
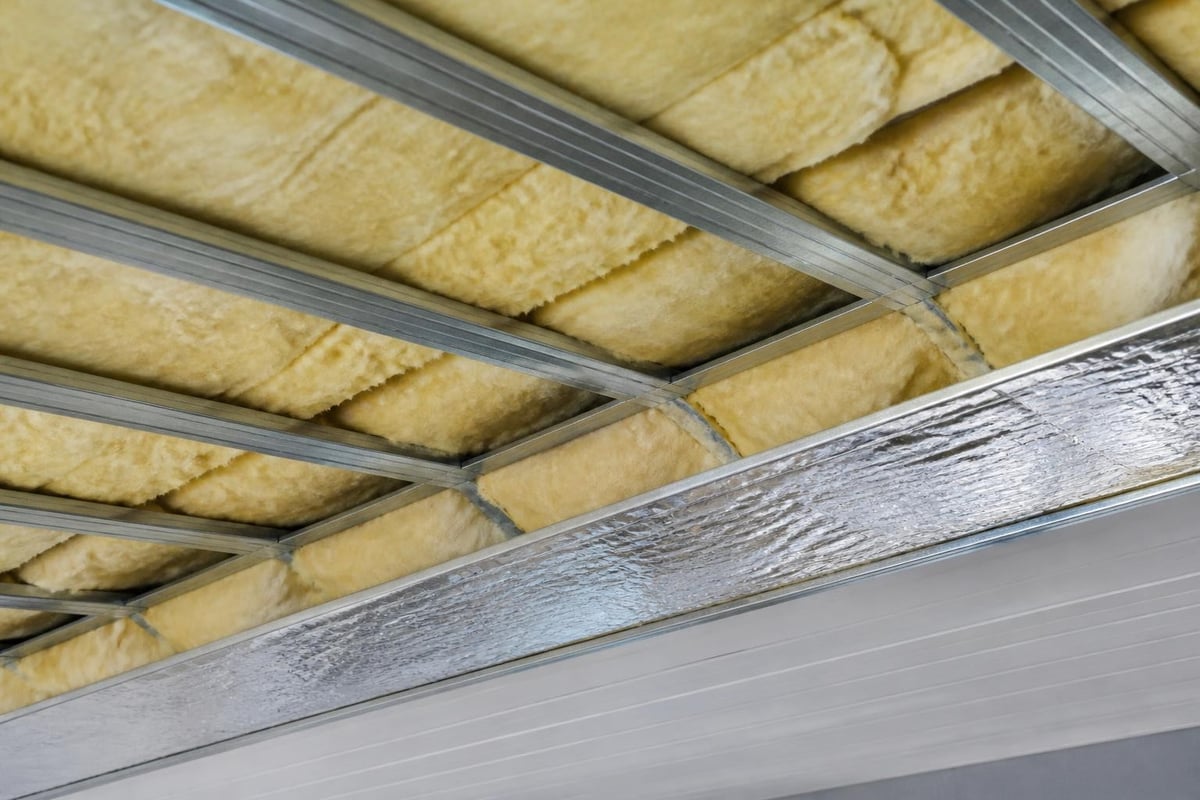
Combining bulk insulation (glasswool batts) with reflective foil creates a high-performance system. The bulk insulation provides high R-value through trapped air pockets, while reflective foil reduces radiant heat transfer.
When using this approach, maintain the required air gap (typically 25mm minimum) between the reflective surface and adjacent materials. Without this air space, reflective insulation loses most of its effectiveness.
Acoustic Enhancement
While all bulk insulation provides some sound reduction, specific high-density acoustic products deliver superior noise control. For ceiling installations where sound transmission is a concern (home theatres, bedrooms beneath living areas, multi-storey homes), consider products specifically designed for acoustic performance.
Higher-density glasswool products (22-24 kg/m³) offer substantially better acoustic insulation than standard-density options while still delivering excellent thermal performance. Products like Knauf insulation with enhanced density provide dual-function benefits worth considering.
Installation in Different Ceiling Types
Not all ceilings are created equal, and installing insulation in ceiling areas varies depending on construction type and access.
Cathedral and Raked Ceilings
Cathedral ceilings follow the roof line without a conventional ceiling cavity, requiring careful planning. Insulation must fit between rafters while maintaining ventilation clearance above.
Key considerations:
- Use batts matched to rafter depth (typically 140mm or 190mm)
- Maintain minimum 25mm ventilation gap between insulation and roof deck
- Consider vapor control strategies in moisture-prone locations
- Ensure complete coverage with no gaps at top or bottom
Flat Ceilings with Trusses
Modern trussed roofs present unique challenges when installing insulation in ceiling areas. Truss webbing creates irregular spacing and awkward cavities requiring extra care.
Split batts to fit on either side of truss webs, ensuring insulation sits flat against the ceiling. Don't compress insulation beneath or around truss members – this reduces R-value and can stress the batt material.
When to Consider Professional Help
While many homeowners successfully tackle ceiling insulation as a DIY project, some situations warrant professional installation.
Consider hiring professionals when:
- Your roof cavity is extremely difficult to access or navigate
- The ceiling contains numerous recessed lights requiring complex work
- You're installing in a double-storey home with limited access
- Your project involves removing asbestos-containing materials
- Local regulations require licensed installation for your application
- You have health conditions affected by dust or confined spaces
Professional installers bring experience, proper equipment, and often access to bulk product pricing that can offset labor costs. They also carry liability insurance covering any damage during installation.
For straightforward single-story installations with good access and minimal obstacles, DIY installation remains very achievable with proper planning and the right products. The comprehensive installation guidance available from reputable suppliers helps bridge the knowledge gap for first-time installers.
Product Options for Victorian Homes
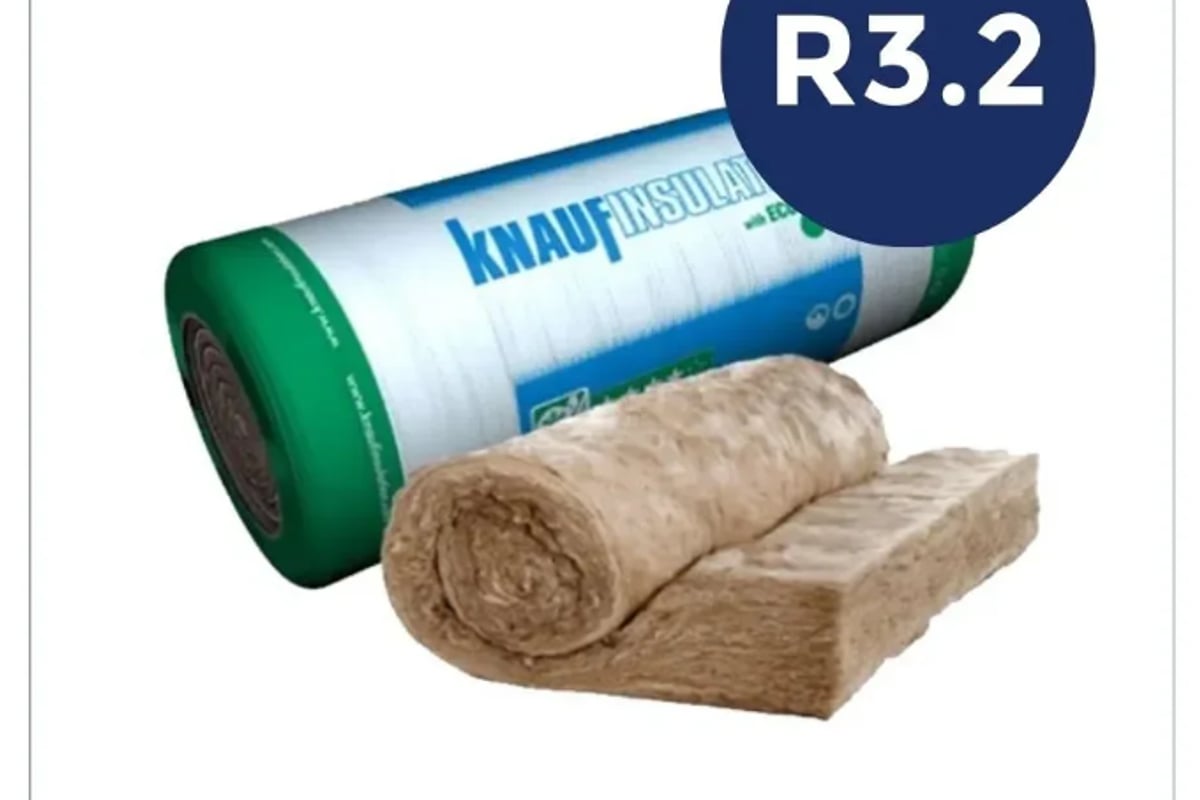
Victorian homeowners and renovators have access to excellent ceiling insulation products specifically suited to local climate requirements. When you're ready to start installing insulation in ceiling areas, selecting proven products designed for Australian conditions ensures long-term success. Glasswool blanket products offer continuous coverage ideal for large ceiling areas with regular joist spacing, delivering strong thermal performance across the R3.0 to R4.0 range commonly needed in Victoria's climate.
Maintenance and Long-Term Performance
Ceiling insulation requires minimal maintenance once properly installed, but periodic checks ensure continued performance.
Annual Inspection Points
Schedule a brief visual inspection of your ceiling insulation every 12-24 months:
- Check for water stains indicating roof leaks
- Look for areas where insulation has shifted or settled
- Verify insulation around access hatches remains secure
- Inspect for pest activity or nesting
- Confirm ventilation pathways remain clear
Addressing minor issues promptly prevents larger problems. Small gaps can be filled with offcuts saved from installation, and displaced insulation easily repositioned during routine inspection.
Expected Lifespan
Quality glasswool ceiling insulation typically lasts 40-50 years or more when properly installed and protected from moisture. Unlike some building materials, properly maintained insulation doesn't degrade significantly over time.
Insulation performance can diminish if products become wet, compressed, or damaged. Water-damaged insulation should be replaced rather than dried, as moisture can permanently affect both thermal performance and indoor air quality.
Cost Considerations and Budget Planning
Installing insulation in ceiling spaces represents a significant investment with excellent returns through reduced energy costs and improved comfort.
Material Costs
Ceiling insulation pricing varies based on R-value, product type, and coverage area. As a general guide for Victoria:
| R-Value | Approximate Cost per m² | Typical Payback Period |
|---|---|---|
| R3.5 - R4.0 | $8 - $15 per m² | 3-5 years |
| R4.5 - R5.0 | $12 - $20 per m² | 4-6 years |
| R5.5 - R6.0 | $15 - $25 per m² | 5-7 years |
Exact costs depend on product selection, project scale, and delivery requirements. Buying direct from online retailers like Insulation Supplies Australia often provides better value than traditional hardware chains, particularly for larger projects.
DIY vs. Professional Installation Costs
Professional installation typically adds $10-25 per square metre depending on project complexity, access difficulty, and regional labor rates. For a standard 150m² ceiling:
- DIY material cost: $1,500 - $3,000 (R4.0 - R5.0 range)
- Professional installed: $3,000 - $6,000 (materials and labor)
- Potential savings: $1,500 - $3,000 by installing yourself
These savings make DIY ceiling insulation attractive for capable homeowners with suitable access and time.
Environmental and Health Considerations
Modern insulation products manufactured with ECOSE® Technology represent significant environmental improvements over older glasswool formulations. Understanding the environmental and health aspects of installing insulation in ceiling spaces helps you make informed product choices.
Indoor Air Quality
Properly installed ceiling insulation actually improves indoor air quality by reducing air infiltration and dust ingress from ceiling cavities. The EPA's indoor air quality guidance emphasizes the importance of combining air sealing with insulation installation for optimal results.
Modern glasswool products are formaldehyde-free and produce minimal airborne particles when handled correctly. Using proper safety equipment during installation protects against temporary dust exposure.
Sustainability Credentials
Look for insulation products with:
- High recycled content (many glasswool products contain 60-80% recycled glass)
- Low embodied energy in manufacturing
- Formaldehyde-free binders
- Australian-made certification (reducing transport emissions)
- Environmental Product Declarations (EPDs) quantifying lifecycle impacts
These credentials ensure your insulation project supports broader sustainability goals while delivering excellent thermal performance.
Troubleshooting Common Issues
Even with careful planning, challenges sometimes arise when installing insulation in ceiling areas.
Uneven Joist Spacing
Older homes often feature irregular joist spacing that doesn't match standard batt widths. Address this by:
- Trimming batts lengthwise to fit narrower spaces
- Compressing batts slightly (maximum 10-15%) in wider spaces
- Cutting custom pieces from glasswool blanket to fill odd-width cavities
- Ensuring all gaps are filled even if using offcuts
Limited Ceiling Height
Shallow ceiling cavities may not accommodate ideal insulation thickness. Options include:
- Using the highest R-value product that fits available depth
- Considering higher-density products that deliver better R-value per millimetre
- Combining ceiling insulation with wall insulation to compensate
- Accepting slightly lower R-values rather than compressing thicker products
Remember that some insulation is always better than none – don't let perfect become the enemy of good.
Difficult Access Points
Tight spaces, low clearances, and awkward angles challenge even experienced installers. Practical solutions include:
- Using smaller batt pieces for confined areas
- Installing the most accessible areas first while you're fresh
- Taking regular breaks to avoid fatigue-related mistakes
- Using extension poles or tools to position distant batts
- Planning installation sequence to avoid working yourself into corners
Specialized Applications
Beyond standard residential ceiling insulation, specific applications require adapted approaches when installing insulation in ceiling areas.
Acoustic Ceilings
Home theatres, music rooms, and multi-residential buildings benefit from enhanced acoustic insulation. Standard thermal batts provide some sound reduction, but dedicated acoustic insulation batts with higher density deliver superior noise control.
Install acoustic batts using the same techniques as thermal insulation, ensuring complete cavity fill and no gaps. Sound travels through the smallest openings, so air-sealing around ceiling penetrations and between ceiling and walls becomes even more critical.
Moisture-Prone Areas
Bathrooms, laundries, and kitchens generate higher moisture levels that can affect ceiling insulation performance. While modern glasswool insulation is not significantly affected by intermittent moisture exposure, proper ventilation remains essential.
Ensure these areas have adequate extraction ventilation (exhaust fans) to remove moisture before it migrates into ceiling cavities. Consider vapor control strategies where local conditions warrant additional protection.
Installing insulation in ceiling spaces delivers substantial energy savings, improved comfort, and long-term value when approached systematically with quality materials and proper technique. Whether you're tackling a full-house retrofit or upgrading a single room, understanding product options, safety requirements, and installation best practices ensures professional results. Insulation Supplies Australia stocks a comprehensive range of ceiling insulation products suited to Victorian climate requirements, with detailed specifications, installation guidance, and delivery across Melbourne and regional areas to support your project from planning through completion.