

Installing roof insulation is one of the most effective ways to improve your home's energy efficiency and comfort. Whether you're tackling a new build, renovation, or upgrade project, understanding roof insulation how to install properly can save you money on energy bills while creating a more comfortable living environment year-round. This comprehensive guide walks you through everything you need to know about installing roof insulation safely and effectively, from choosing the right materials to completing the installation with professional results.
Understanding Your Roof Insulation Options
Before you start any installation project, you need to understand what types of insulation work best for Australian roof spaces. The choice you make will affect both your installation process and long-term performance.
Blanket Insulation for Roofs
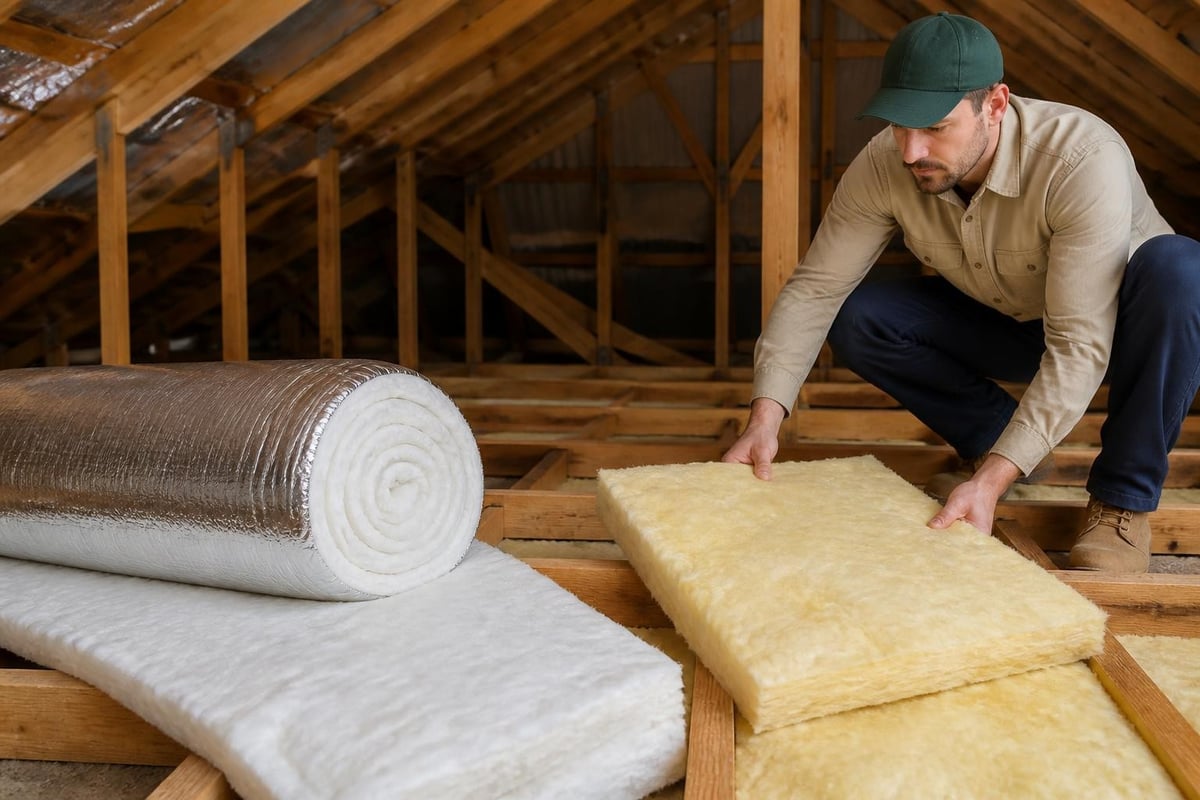
Blanket insulation comes in rolls and is designed specifically for installation under metal roofs or between ceiling joists. It's one of the most popular choices for Australian homes because it combines excellent thermal performance with straightforward installation.
Key advantages include:
- Continuous coverage that reduces thermal bridging
- Flexible material that conforms to roof contours
- Available in various R-values to suit different climates
- Often includes reflective foil facing for radiant heat control
Batts for Ceiling Spaces
Insulation batts are pre-cut sections designed to fit between standard ceiling joist spacing. They're ideal for ceiling insulation projects where you're working from above in the roof cavity.
| Batt Type | Best For | Installation Difficulty |
|---|---|---|
| Glasswool | General ceiling insulation | Easy to moderate |
| Polyester | Moisture-prone areas | Easy |
| Rockwool | Fire-rated applications | Moderate |
Safety Preparation and Essential Equipment
Safety must be your top priority when learning roof insulation how to install correctly. Roof spaces can present multiple hazards, and proper preparation prevents accidents.
Personal Protective Equipment
You'll need specific safety gear before entering any roof space:
- Disposable coveralls to protect skin and clothing
- Safety glasses to prevent dust and fibres from entering eyes
- Dust mask or respirator rated for insulation fibres
- Work gloves to protect hands during handling
- Hard hat if working in tight roof spaces
- Sturdy footwear with good grip
Setting Up Safe Access
Never attempt to walk directly on ceiling joists or plasterboard. You need proper working platforms.
- Place sturdy boards across ceiling joists to create walkways
- Ensure adequate lighting throughout the work area
- Keep the area well-ventilated, especially in summer
- Have a helper available to pass materials and assist if needed
- Check for electrical wiring, pipes, and other services before starting
Working in roof spaces during summer can be extremely hot. Plan your work for early morning or late afternoon, and take regular breaks to avoid heat stress.
Measuring and Calculating Your Insulation Needs
Accurate measurements ensure you purchase the right amount of insulation without costly waste or shortfalls. Understanding roof insulation how to measure properly saves both time and money.
Measuring Ceiling Area
For ceiling insulation between joists, measure the total floor area of the rooms below. Don't forget to include:
- Hallways and corridors
- Walk-in robes and storage areas
- Areas above built-in wardrobes
- Eaves areas if accessible
Add approximately 5-10% extra to account for cuts, overlaps, and wastage.
Measuring for Blanket Installation
When installing blanket insulation under a pitched roof, you need to calculate the actual roof surface area, not just the ceiling area below.
| Roof Pitch | Area Multiplier | Example Calculation |
|---|---|---|
| Flat to 15° | 1.05 | 100m² ceiling = 105m² blanket |
| 20° to 25° | 1.15 | 100m² ceiling = 115m² blanket |
| 30° to 35° | 1.25 | 100m² ceiling = 125m² blanket |
Checking Joist Spacing
Standard Australian ceiling joist spacing is typically 450mm or 600mm centres. Confirm your spacing before ordering batts, as they're manufactured to fit these specific measurements.
Choosing the Right R-Value for Victoria
The R-value indicates thermal resistance. Higher R-values provide better insulation performance. For Victorian homes, climate zone requirements guide your minimum R-value selection.
Melbourne and most of Victoria fall into climate zone 6 or 7. The recommended minimum R-values for 2026 are:
- Ceiling/Roof: R6.0 to R7.0 for optimal performance
- Walls: R2.5 to R3.0
- Floors: R1.5 to R2.5
While these are building code minimums for new construction, upgrading existing homes to these levels delivers substantial energy savings. Explore the full range of ceiling insulation options to find products suited to your specific project requirements.
Step-by-Step Installation: Ceiling Batts
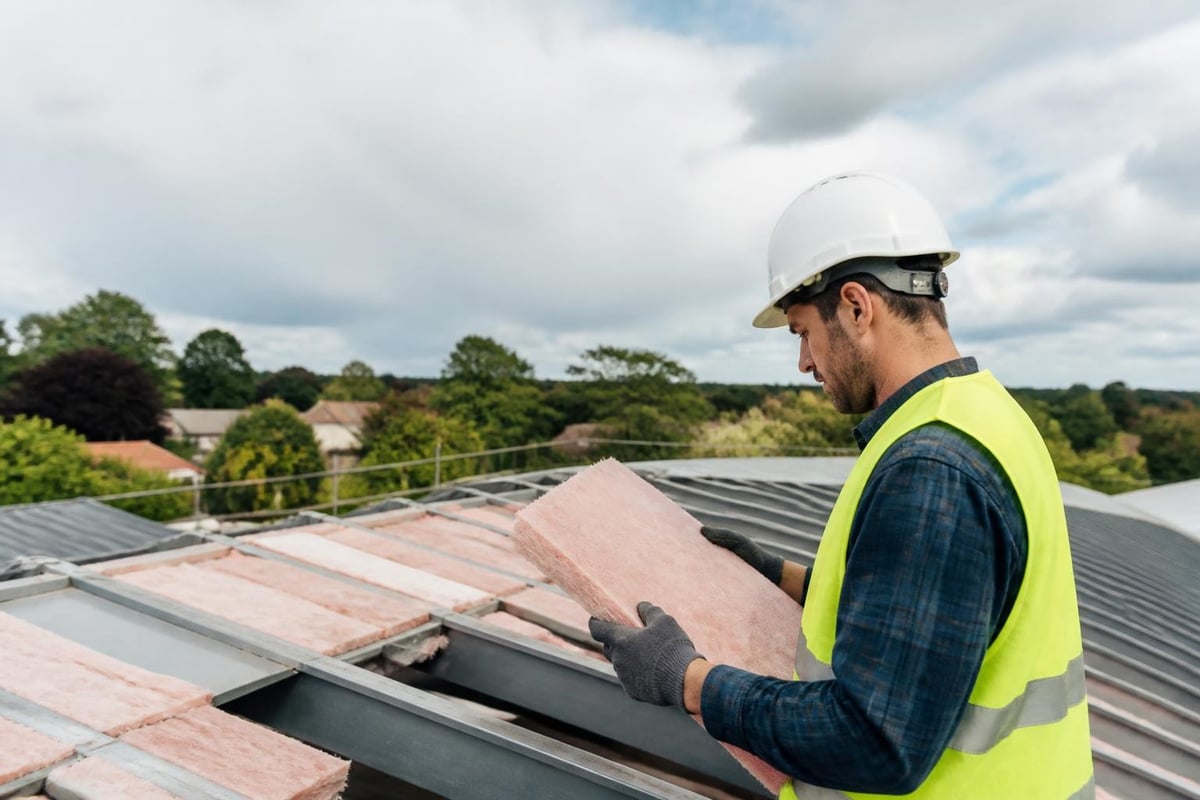
Installing batts between ceiling joists is the most common DIY roof insulation project. Here's the complete process for achieving professional results.
Preparing the Roof Space
Before handling any insulation, prepare your workspace thoroughly:
- Clear the roof space of stored items
- Vacuum or sweep away debris and dust
- Inspect the ceiling for any damage or leaks
- Mark electrical fixtures and wiring paths
- Set up your working platforms and lighting
Installing Between Joists
Start at the furthest point from the access hatch and work backwards towards your exit.
Installation sequence:
- Unpack batts carefully without compressing the material
- Measure and cut batts to length using a sharp utility knife
- Place batts gently between joists, ensuring they sit flat
- Never compress insulation to fit – it reduces R-value effectiveness
- Cut around electrical fixtures, maintaining required clearances
- Ensure batts touch each other without gaps or overlaps
Working Around Obstacles
Roof spaces contain various obstacles that require careful navigation:
- Downlights: Maintain 50mm clearance around non-IC rated fittings, or use specifically designed covers
- Wiring: Lay batts over electrical cables where possible, never compress cables
- Vents: Don't block eave vents or roof ventilation openings
- Chimneys: Maintain required fire-rated clearances as per building codes
For complex ceiling layouts or tricky areas, taking your time ensures complete coverage without safety compromises.
Step-by-Step Installation: Roof Blanket
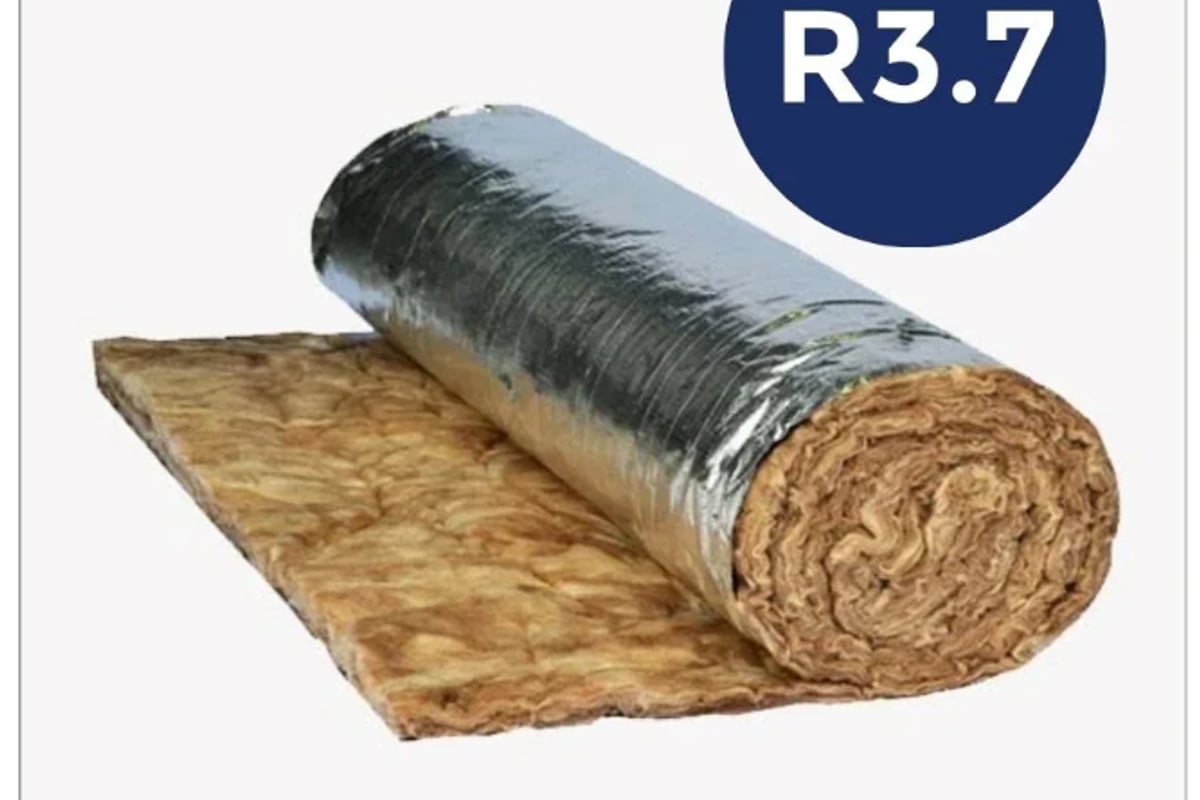
Installing blanket insulation under a pitched metal roof requires different techniques compared to ceiling batts. The Thermal Blanket R3.7 22kg/m³ 130mm x 1.2m Roof Insulation Blanket offers excellent performance for this application, providing high-density thermal resistance specifically designed for roof systems.
Securing the First Run
Begin at the lowest point of the roof, typically the eaves:
- Roll out the blanket perpendicular to the roof battens
- Position the blanket to drape between rafters
- Staple or secure the blanket to the underside of battens
- Maintain tension to prevent sagging while allowing slight drape
- Overlap joins by at least 100mm and tape seams
Progressive Installation
Work methodically up the roof slope:
- Unroll one section at a time to maintain control
- Keep the blanket aligned and straight
- Secure at regular intervals (approximately every 300-400mm)
- Ensure the reflective surface faces downward (into the living space)
- Trim excess material at ridges and hips
Completing Edges and Penetrations
Pay special attention to roof edges and penetrations:
- Eaves: Ensure blanket extends to the eave but doesn't block ventilation
- Ridges: Overlap and tape securely, maintaining ventilation space
- Valleys: Run blanket through valleys with proper sealing
- Roof penetrations: Cut neatly around pipes, vents, and skylights
Common Installation Mistakes to Avoid
Even experienced DIYers can make errors when learning roof insulation how to install. Avoiding these common mistakes ensures your insulation performs as intended.
Compression and Gaps
The two most critical errors are:
- Compressing insulation to fit into tight spaces (reduces R-value by up to 50%)
- Leaving gaps between batts or sections (creates thermal bridges)
Both mistakes significantly reduce insulation effectiveness. If a space is too small, use a thinner product rated for that depth rather than compressing thicker insulation.
Covering Ventilation
Roof spaces need airflow to prevent moisture buildup and heat accumulation. Never block:
- Eave vents or soffit ventilation
- Ridge vents or whirlybirds
- Gable vents or louvres
| Ventilation Type | Purpose | Keep Clear |
|---|---|---|
| Eave vents | Air intake | 50mm minimum |
| Ridge vents | Hot air exhaust | 100mm minimum |
| Gable vents | Cross-ventilation | Fully clear |
Electrical Safety Oversights
Electrical hazards in roof spaces require serious attention:
- Never compress or damage electrical wiring
- Maintain clearances around non-IC rated downlights
- Don't insulate over junction boxes or transformers
- Consider upgrading to IC-rated downlights before insulating
- If unsure, consult a licensed electrician
Dealing with Moisture and Condensation
Understanding moisture management is crucial when considering roof insulation how to install in Australian conditions. Victoria's climate can create condensation issues if ventilation is inadequate.
Preventing Condensation
Warm, moist air from living spaces can condense when it meets cold roof surfaces. This moisture can damage insulation and timber framing.
Prevention strategies include:
- Ensuring adequate roof ventilation for airflow
- Installing vapour barriers where recommended
- Sealing air leaks around ceiling penetrations
- Using exhaust fans in bathrooms and kitchens
- Maintaining eave vent clearances
Checking for Existing Issues
Before installing new insulation, inspect for:
- Water stains on timber framing
- Mould or mildew growth
- Damp or damaged existing insulation
- Roof leaks or missing tiles
Address any moisture problems before proceeding with insulation installation.
Finishing and Quality Checks
After completing your installation, thorough quality checks ensure optimal performance and identify any areas needing attention.
Visual Inspection Checklist
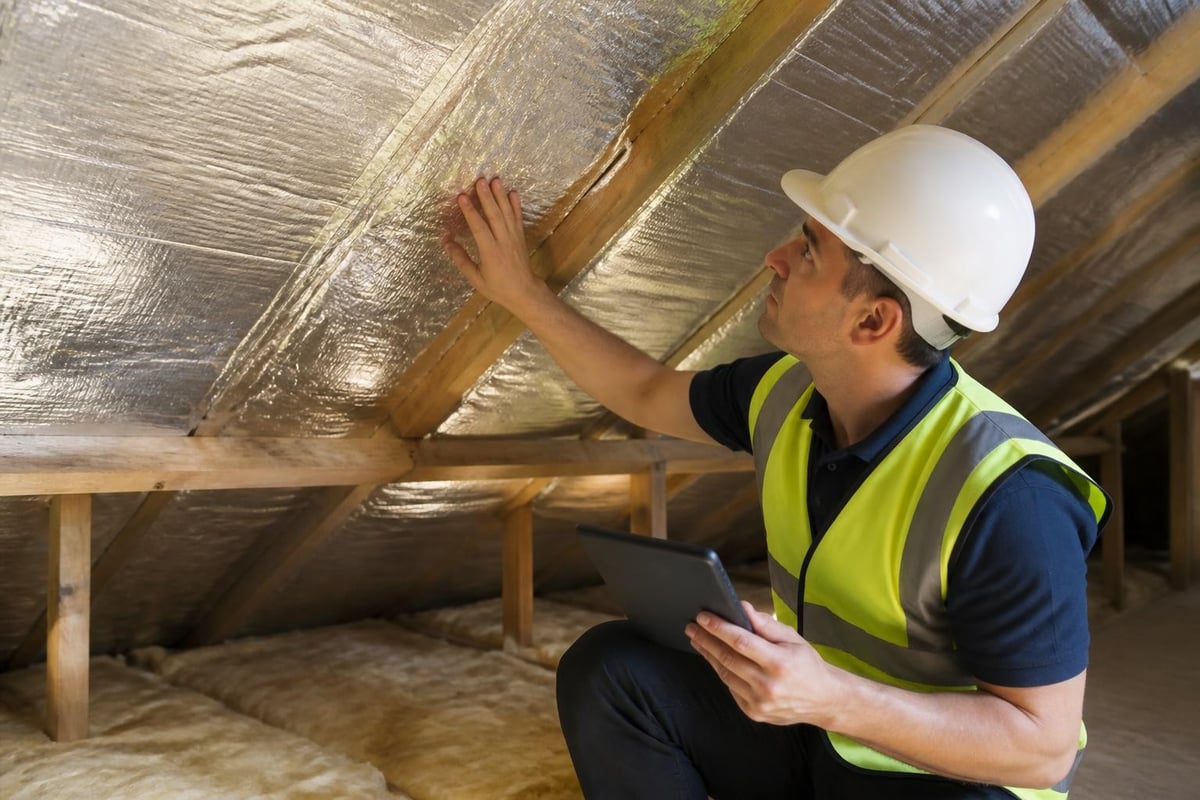
Walk through the entire roof space with good lighting and check:
- Coverage: No visible gaps between insulation sections
- Positioning: All batts sitting flat without compression
- Clearances: Proper spacing around electrical fixtures
- Ventilation: All vents remain unobstructed
- Edges: Insulation extends to eaves without blocking airflow
Testing for Gaps
A simple method to check for gaps is to turn off all lights and look for light penetration from below. Any light indicates a gap that should be filled.
Documentation
Keep records of your installation:
- Product specifications and R-values
- Installation date and coverage area
- Photographs of completed work
- Receipts and warranties
This documentation proves valuable for future renovations, property sales, or energy efficiency assessments.
Upgrading Existing Roof Insulation
Many older Australian homes have inadequate or deteriorating insulation. Upgrading existing roof insulation follows similar principles but requires additional considerations.
Assessing Current Insulation
Before adding new insulation:
- Identify the type and R-value of existing material
- Check its condition (compressed, damaged, or contaminated)
- Determine if it should be removed or supplemented
- Test for asbestos if the home was built before 1987
Never disturb suspected asbestos-containing materials. Engage licensed professionals for testing and removal.
Adding Supplementary Layers
You can often add new insulation over existing material if:
- The existing insulation is in good condition
- Combined R-values meet your target performance
- The ceiling structure can support the additional weight
- Ventilation remains adequate with increased insulation depth
When adding layers, ensure the new insulation doesn't compress the existing material underneath.
Specialised Roof Insulation Scenarios
Some roof configurations require modified installation approaches. Understanding these variations helps you tackle roof insulation how to install in different situations.
Cathedral Ceilings
Cathedral or raked ceilings follow the roof line without an accessible cavity above. Installation typically requires:
- Working from below during construction or renovation
- Using rigid board insulation between rafters
- Ensuring adequate ventilation channels above insulation
- Professional installation in most retrofit situations
Skillion Roofs
Skillion roofs with a single slope need careful attention to:
- Ventilation from low to high points
- Consistent insulation thickness across the span
- Proper sealing at the highest and lowest points
Complex Roof Designs
Homes with multiple roof levels, valleys, and hips require:
- Careful planning to ensure complete coverage
- Extra attention to junction points and transitions
- Proper sealing of all penetrations and intersections
- Consideration of different insulation products for different sections
Tools and Materials Checklist
Having the right tools makes installation easier and more professional. Here's your complete roof insulation how to tool kit.
Essential Tools
- Utility knife with spare blades
- Straight edge or long ruler (1-2m)
- Tape measure (at least 5m)
- Staple gun and staples (for blanket installation)
- Battery-powered torch or work light
- Extension cord for powered tools
- Pencil or marker for measurements
Safety Equipment
- Protective clothing and coveralls
- Safety glasses
- Dust mask or respirator
- Work gloves
- Hard hat
- First aid kit
Optional but Helpful
- Insulation supports for batts (reduce sagging)
- Batt cutting table or board
- Kneeling pads for comfort
- Shop vacuum for cleanup
- Foil tape for sealing joins
Cost Considerations and Budgeting
Understanding the investment required helps you plan your roof insulation project effectively.
Material Costs
Insulation pricing varies based on:
- R-value (higher ratings cost more per square metre)
- Material type (glasswool, polyester, or reflective)
- Quality and manufacturer
- Order quantity (bulk purchases often receive discounts)
For a typical 150m² ceiling in Victoria, expect to invest between $800-$2,500 in materials alone, depending on the R-value and product selected. Browse various R-value options to compare products within your budget.
DIY vs Professional Installation
DIY advantages:
- Significant labour cost savings (typically $1,500-$3,000)
- Work at your own pace
- Direct control over quality
- Valuable skills gained
Professional installation benefits:
- Speed and efficiency
- Experience with complex situations
- Insurance and warranty coverage
- Compliance with building standards
For straightforward ceiling batt installation, confident DIYers can achieve excellent results. Complex roof configurations or blanket installations under metal roofs may warrant professional assistance.
Maintenance and Long-Term Performance
Properly installed insulation requires minimal maintenance, but periodic checks ensure it continues performing effectively.
Annual Inspections
Once yearly, conduct a visual inspection:
- Check for signs of moisture or water damage
- Look for displaced or compressed sections
- Verify ventilation remains unobstructed
- Inspect for pest activity or nesting
When to Replace or Upgrade
Consider replacing roof insulation if you notice:
- Significant compression or damage
- Water damage or mould growth
- Pest contamination
- Product deterioration (usually after 15-20+ years)
- Upgrading to meet current energy efficiency standards
Maintaining Effectiveness
Simple steps to protect your investment:
- Fix roof leaks immediately
- Maintain adequate roof ventilation
- Avoid storing items on top of ceiling insulation
- Don't allow tradespeople to walk on or compress insulation during other work
Regulatory Compliance and Building Codes
Australian building regulations set minimum standards for roof insulation in new construction and renovations. Understanding these requirements ensures your installation meets legal obligations.
National Construction Code Requirements
The National Construction Code (NCC) specifies minimum R-values based on climate zones. For Victoria (primarily zones 6 and 7), ceiling insulation should typically achieve R6.0 or higher in new builds as of 2026.
Check requirements for:
- New home construction
- Substantial renovations
- Extensions and additions
- Different dwelling types (detached, attached, apartments)
Building Permits
Most roof insulation installations in existing homes don't require building permits. However, you should obtain permits if:
- You're undertaking structural modifications
- Work involves roof replacement or major repairs
- Installation is part of a larger renovation requiring permits
- Local council has specific requirements
When in doubt, contact your local council building department for clarification.
Energy Efficiency and Return on Investment
Installing proper roof insulation delivers tangible financial returns through reduced energy consumption.
Energy Savings Potential
Well-insulated roofs can reduce heating and cooling costs by:
- 20-30% in older uninsulated homes
- 10-15% when upgrading from poor to good insulation
- 5-10% when upgrading from minimum to optimum R-values
For a typical Victorian household spending $2,000 annually on heating and cooling, upgrading to R6.0 ceiling insulation could save $300-$500 per year.
Payback Period
Most DIY roof insulation projects pay for themselves within:
| Initial Investment | Annual Savings | Payback Period |
|---|---|---|
| $1,500 | $400 | 3.75 years |
| $2,000 | $350 | 5.7 years |
| $2,500 | $300 | 8.3 years |
Beyond direct energy savings, proper insulation increases property value, improves comfort, and reduces environmental impact.
Environmental Benefits
Beyond personal savings, understanding roof insulation how to install properly contributes to broader environmental benefits.
Effective roof insulation:
- Reduces greenhouse gas emissions from heating and cooling
- Decreases reliance on fossil fuel-based energy
- Improves home comfort with less mechanical heating/cooling
- Uses recyclable materials in many modern products
Many contemporary insulation products use recycled content and environmentally responsible manufacturing processes, making them sustainable choices for conscious homeowners.
Installing roof insulation correctly transforms your home's comfort and energy efficiency while delivering long-term cost savings. Whether you choose batts for ceiling spaces or blanket insulation for roof systems, following proper techniques ensures optimal performance and safety. Insulation Supplies Australia provides Victorian homeowners with quality insulation products, expert guidance, and competitive pricing to make your DIY project successful. Browse the extensive range online, get expert advice, and enjoy fast delivery across Victoria to start improving your home's performance today.