

Installing the right insulation in your ceiling is one of the most effective ways to improve comfort and reduce energy costs in your home. Ceiling batts remain the most popular choice for Australian homeowners, renovators, and owner-builders looking to upgrade their thermal performance. Whether you're building new, renovating, or simply trying to beat Melbourne's unpredictable weather, understanding ceiling batts will help you make the right choice for your project.
What Are Ceiling Batts and How Do They Work
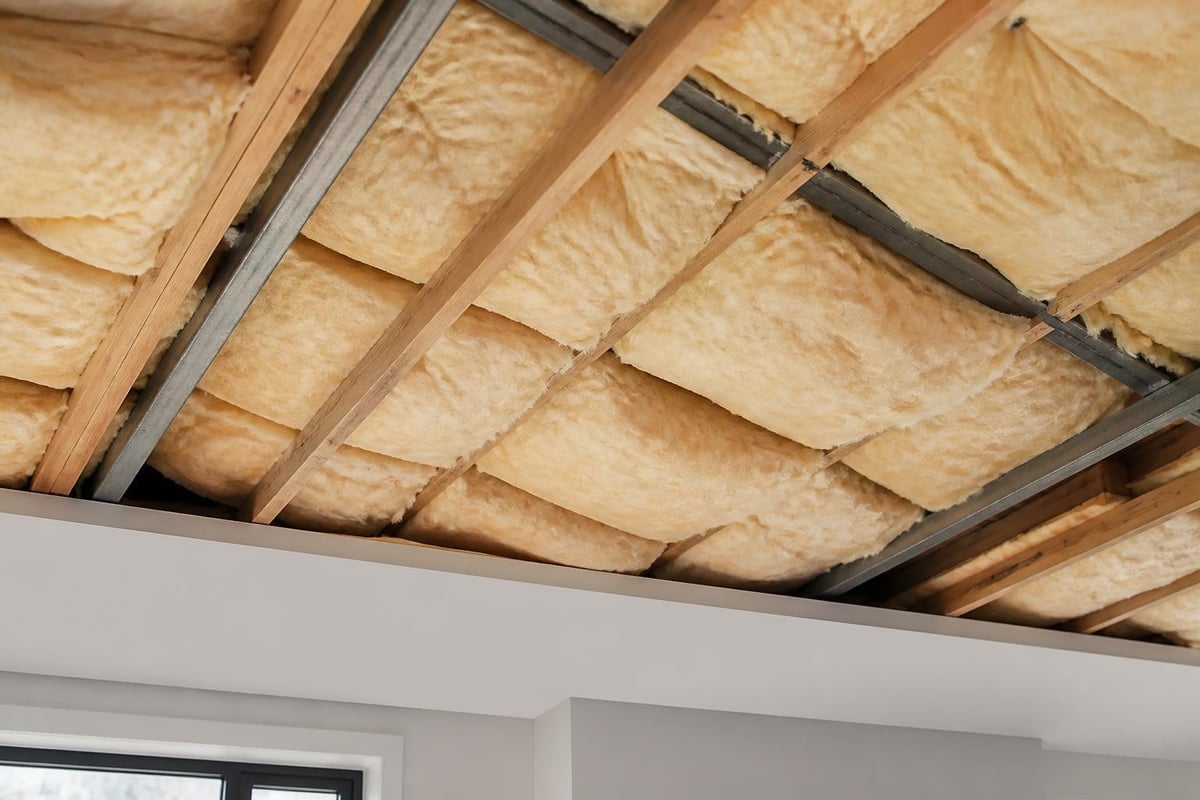
Ceiling batts are pre-cut segments of insulation material designed to fit snugly between ceiling joists in your roof space. They work by trapping pockets of air within their fibrous structure, creating a barrier that slows heat transfer between your living space and the roof cavity.
The thermal performance of ceiling batts depends on several factors:
- Material type and density
- Thickness and R-value rating
- Proper installation without compression or gaps
- Overall coverage across the ceiling area
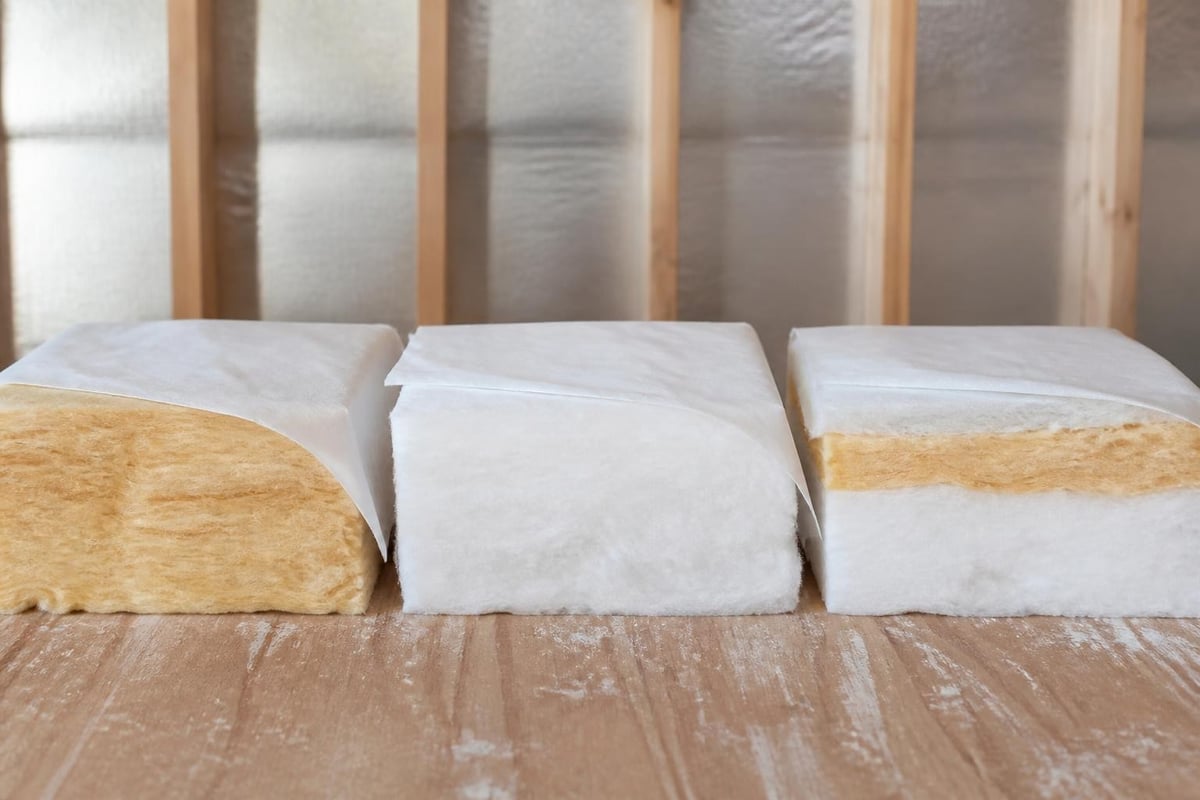
Most ceiling batts available in Australia today are manufactured from glasswool or polyester fibres. Glasswool batts, such as those made with advanced ECOSE® Technology, offer excellent thermal resistance while being soft to handle and low in dust. This makes installation easier for DIY renovators and professional installers alike.
Why Ceiling Insulation Matters Most
Your ceiling represents the largest surface area where heat exchange occurs in your home. During summer, up to 35% of unwanted heat enters through an uninsulated roof. In winter, the same percentage of heated air can escape upwards, forcing your heating system to work harder and driving up energy bills.
Installing quality ceiling batts creates an effective thermal barrier that keeps heat out during hot months and retains warmth when temperatures drop. This translates directly to lower heating and cooling costs, improved comfort year-round, and reduced environmental impact from energy consumption.
Understanding R-Values for Ceiling Batts
The R-value measures insulation's thermal resistance, indicating how effectively it resists heat flow. Higher R-values mean better insulating performance. For ceiling applications in Victoria and most of Australia, choosing the appropriate R-value ensures compliance with building codes and optimal energy efficiency.
Recommended ceiling R-values for Victorian homes:
| Climate Zone | Minimum R-Value | Recommended R-Value |
|---|---|---|
| Melbourne & most Victoria | R3.5 | R4.0 to R6.0 |
| Alpine regions | R5.0 | R6.0 to R7.0 |
| Coastal areas | R3.5 | R4.0 to R5.0 |
The National Construction Code sets minimum requirements, but installing higher R-value ceiling batts often provides better long-term value. A home with R6.0 ceiling insulation will maintain more stable temperatures and require less heating and cooling than one with just the minimum R3.5.
Choosing the Right R-Value
Consider your specific situation when selecting ceiling batts. Older homes with minimal or no existing insulation benefit most from higher R-values like R5.0 or R6.0. New builds should aim for at least R4.0 to R5.0 to meet current energy efficiency expectations.
Your roof colour and type also matter. Darker roofs absorb more heat, making higher R-value ceiling batts more beneficial. Metal roofs conduct heat rapidly, so increased insulation thickness helps counteract this effect.
Budget plays a role, but remember that ceiling batts are a long-term investment. The difference in upfront cost between R4.0 and R6.0 is relatively small compared to the ongoing energy savings over 20-40 years.
Types of Ceiling Batts Available
Australian homeowners can choose from several ceiling batt materials, each offering distinct advantages for different applications and budgets.
Glasswool Ceiling Batts
Glasswool remains the most popular material for ceiling batts across Australia. Made from recycled glass and sand, these batts offer excellent thermal performance, fire resistance, and acoustic benefits.
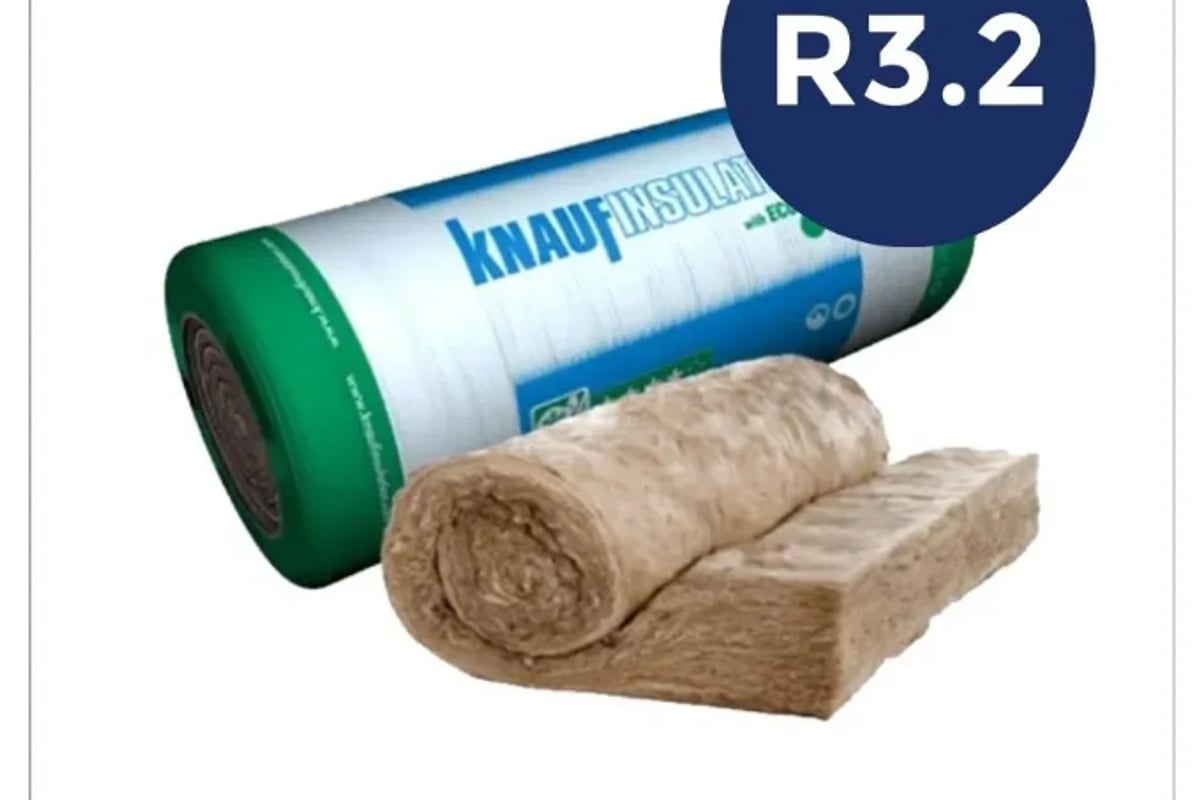
Modern glasswool products like Earthwool use ECOSE® Technology, a bio-based binder that reduces embodied energy and makes handling more comfortable. The Earthwool Blanket Unfaced R3.2 130mmx1200mmx13.5m provides strong thermal efficiency in a format that's easy to cut and fit for both standard and irregular joist spacings.
Benefits of glasswool ceiling batts:
- Non-combustible and fire-resistant
- Excellent thermal and acoustic properties
- Soft texture with low dust formulation
- Moisture resistant and won't support mould growth
- Recyclable and sustainable manufacturing
Polyester Ceiling Batts
Polyester ceiling batts are manufactured from recycled plastic bottles, making them an environmentally friendly alternative. They're naturally non-allergenic, contain no breathable fibres, and are completely safe to handle without protective equipment.
These batts work particularly well in humid environments or roof spaces prone to moisture issues. Unlike some materials, polyester won't absorb water and maintains its insulating properties even if dampened.
Reflective Foil and Bulk Insulation Combinations
Some ceiling insulation systems combine bulk insulation batts with reflective foil layers. The bulk component provides thermal resistance through trapped air, while the foil reflects radiant heat away from living spaces. This dual-action approach can be particularly effective under metal roofs in hot climates.
Ceiling Batt Sizes and Dimensions
Ceiling batts come in standard dimensions designed to fit common joist spacings found in Australian homes. Understanding these sizes helps you order the correct quantities and reduces cutting waste during installation.
Common ceiling batt widths:
- 430mm wide - fits 450mm joist centres (most common)
- 580mm wide - fits 600mm joist centres
- 1160mm wide - covers two standard 600mm spaces
- Blanket rolls (1200mm wide) - for continuous coverage or irregular spacings
Thickness varies according to R-value. An R4.0 batt typically measures around 195mm thick, while R6.0 batts are approximately 275mm thick. Always verify your ceiling cavity depth before ordering to ensure batts fit without compression.
Calculating Your Requirements
Measure your ceiling area in square metres, then divide by the coverage per pack listed on product specifications. Add 5-10% extra to account for cutting waste around obstacles, penetrations, and irregular spaces.
For a typical three-bedroom home with 150 square metres of ceiling area, you'll need approximately 30-35 packs of standard batts, depending on the specific product and coverage per pack.
Installing Ceiling Batts Safely and Effectively
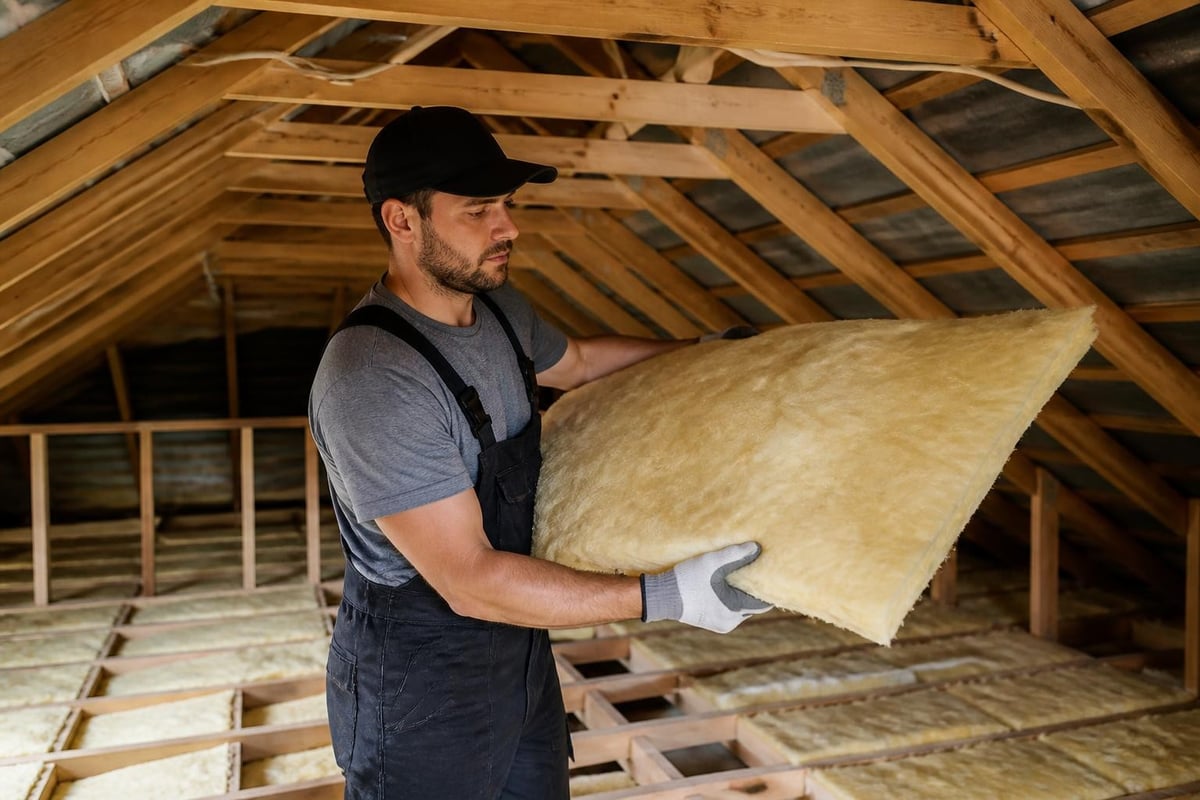
DIY ceiling insulation installation is achievable for capable owner-builders, but requires careful planning and attention to safety. Working in roof spaces presents risks including heat stress, falls, electrical hazards, and breathing dust or fibres.
Essential safety equipment for ceiling batt installation:
- Sturdy boards or planks to walk on (never step between joists)
- Adequate lighting - headlamp and work lights
- Dust mask or respirator rated P2 or higher
- Long-sleeved clothing, gloves, and safety glasses
- Hard hat to protect from roof nails and timber
Start early in the morning during summer to avoid extreme roof space temperatures. Roof cavities can exceed 60°C on hot days, creating dangerous working conditions.
Step-by-Step Installation Process
Begin at the furthest point from the access hatch and work backwards towards your exit. This prevents compressing freshly laid batts as you move around the space.
Cut batts to size using a long-bladed knife or insulation saw. Make cuts slightly oversized so batts fit snugly without gaps. Push batts gently into place - never compress them, as this reduces their R-value significantly.
Key installation requirements:
- Maintain 25mm clearance around recessed light fittings
- Don't cover electrical cables - lay batts alongside or underneath
- Ensure downlights are IC rated before covering with insulation
- Keep insulation clear of exhaust fans and flues
- Install baffles at eaves to maintain ventilation airflow
For more detailed guidance on ceiling insulation installation and energy efficiency, authoritative Australian sources provide comprehensive technical requirements and best practices.
Ceiling Batts vs Other Insulation Types
While ceiling batts dominate the Australian residential market, other insulation formats serve specific purposes and situations.
Blanket Roll Insulation
Blanket insulation comes in continuous rolls rather than pre-cut segments. This format suits long, uninterrupted ceiling runs or situations where joist spacing varies. Blankets require more cutting during installation but reduce the number of joins and potential gaps.
The Earthwool Blanket Unfaced range offers multiple R-values in roll format, providing flexibility for different thermal requirements and installation preferences.
Loose-Fill Insulation
Loose-fill products are blown into ceiling cavities using specialized equipment. This method works well for retrofitting insulation in existing homes where ceiling access is limited or for topping up existing insulation that has settled over time.
However, loose-fill requires professional installation equipment and can be more expensive than DIY ceiling batts for standard applications.
Comparison Table
| Insulation Type | Best For | Installation | Cost Level |
|---|---|---|---|
| Ceiling Batts | New builds, renovations, DIY projects | Moderate difficulty | $$ |
| Blanket Rolls | Long runs, varied joist spacing | Moderate difficulty | $$ |
| Loose-Fill | Retrofit, irregular spaces | Professional required | $$$ |
| Rigid Board | Specialty applications, cathedral ceilings | Higher difficulty | $$$$ |
Common Ceiling Batt Installation Mistakes
Even experienced DIY renovators sometimes make errors that reduce insulation effectiveness or create safety hazards. Awareness of these common issues helps ensure proper installation and maximum performance.
Mistakes that compromise ceiling batt performance:
- Compressing batts to fit tight spaces reduces R-value
- Leaving gaps between batts creates thermal bridges
- Covering non-IC rated downlights creates fire risks
- Insufficient clearance around heat-generating equipment
- Installing batts upside down (if faced or foil-backed)
Compression is particularly problematic. A 200mm thick R6.0 batt compressed to 150mm might perform at only R4.5 or less. The insulation works by trapping air - squashing it removes this critical component.
Addressing Electrical and Lighting Issues
Many older homes have recessed downlights that aren't rated for contact with insulation. These fixtures vent heat upwards and can overheat if covered. You have three options: replace with IC-rated LED downlights, install insulation covers/boxes around existing lights, or maintain proper clearances.
Never lay ceiling batts directly over electrical cables. Heat buildup can degrade cable insulation over time. Instead, carefully position batts alongside cables or let cables rest on top of the insulation where possible.
Acoustic Benefits of Ceiling Batts
Beyond thermal performance, ceiling batts significantly reduce noise transmission between floors in multi-storey homes and from external sources through the roof. This acoustic control improves living comfort in busy households and noisy neighbourhoods.
Higher-density ceiling batts specifically designed for sound control offer superior acoustic performance. Products like Earthwool Sound Shield feature increased density (up to 24kg/m³ compared to standard 11-14kg/m³) which absorbs and dampens sound waves more effectively.
Noise reduction applications for ceiling batts:
- Between ground and first-floor living areas
- Under home theatre or music rooms
- In bedrooms located below bathrooms
- Throughout homes near airports or busy roads
Installing acoustic ceiling batts in upper-floor ceilings creates quieter sleeping areas and reduces footfall noise for downstairs occupants. Combined with appropriate floor underlays, this approach dramatically improves acoustic separation between levels.
Maintaining and Upgrading Ceiling Insulation
Quality ceiling batts require virtually no maintenance once properly installed. However, periodic inspection ensures your insulation continues performing optimally and identifies any issues before they worsen.
Check your ceiling insulation every few years, particularly after severe weather events or roof repairs. Look for signs of water damage, pest intrusion, or displacement. Properly installed glasswool and polyester batts should maintain their position and effectiveness for 40-50 years or more.
When to Consider Upgrading
Homes built before 2000 often have minimal ceiling insulation, typically R1.5 to R2.5 at best. Many older homes have no insulation at all. Upgrading to R4.0 or higher delivers substantial energy savings and comfort improvements.
Signs your ceiling needs insulation upgrades:
- Large temperature variations between rooms
- Difficulty maintaining comfortable temperatures
- High heating and cooling costs compared to similar homes
- Visible condensation or moisture in roof space
- Excessive outside noise transmission
Topping up existing insulation is possible, but ensure the combined thickness doesn't compress lower layers. Sometimes removing old, damaged insulation and installing new ceiling batts proves more effective and cost-efficient than attempting repairs.
Cost Considerations and ROI
Ceiling batt prices vary based on R-value, material type, and quantity purchased. Generally, expect to pay $10-25 per square metre for materials, with higher R-values and specialty acoustic products at the upper end of this range.
For a typical 150 square metre ceiling, material costs range from $1,500 to $3,750 depending on R-value choice. DIY installation eliminates labour costs, while professional installation adds approximately $20-40 per square metre for labour.
Calculating Your Return on Investment
Energy savings from proper ceiling insulation typically recover installation costs within 3-7 years. Homes in Melbourne can save $300-600 annually on heating and cooling bills by upgrading from no insulation to R4.0-R5.0 ceiling batts.
Beyond direct energy savings, improved insulation increases property value, enhances comfort year-round, and reduces environmental impact. For more information on how ceiling insulation affects energy bills, comprehensive resources detail the financial and comfort benefits.
| R-Value | Material Cost (150m²) | Annual Savings* | Payback Period |
|---|---|---|---|
| R3.5 | $1,500-$2,000 | $250-$400 | 4-6 years |
| R4.0 | $1,800-$2,400 | $300-$500 | 4-6 years |
| R5.0 | $2,200-$3,000 | $350-$550 | 5-7 years |
| R6.0 | $2,800-$3,750 | $400-$600 | 5-7 years |
*Savings vary based on climate, existing insulation, home design, and energy costs
Regulatory Requirements and Building Standards
Australian building regulations mandate minimum insulation R-values for new construction and major renovations. These requirements, set through the National Construction Code (NCC), ensure homes meet baseline energy efficiency standards.
In Victoria and most of southern Australia, ceiling insulation must achieve at least R3.5 for new residential construction. However, reaching 6-star or higher energy ratings often requires R4.0 to R6.0 ceiling batts depending on other building elements and design factors.
Compliance considerations when installing ceiling batts:
- Meet or exceed minimum R-value requirements for your climate zone
- Maintain required clearances around heat sources and services
- Use products with appropriate certifications and test reports
- Follow manufacturer installation guidelines precisely
- Ensure proper ventilation in roof spaces
Owner-builders and DIY renovators should verify local requirements with their building surveyor before purchasing materials. Requirements can vary slightly between council areas and specific building classifications.
Seasonal Installation Considerations
Timing your ceiling batt installation can make the work significantly easier and more comfortable. Melbourne's variable climate creates distinct advantages and challenges across different seasons.
Summer (December - February): Roof spaces become extremely hot, often exceeding safe working temperatures. If installing during summer, work very early mornings before heat builds up, take frequent breaks, and maintain hydration. Consider professional installation if temperatures are extreme.
Autumn (March - May): Ideal conditions for DIY ceiling insulation projects. Moderate temperatures make roof space work more comfortable, and completing installation before winter maximizes immediate heating cost savings.
Winter (June - August): Cold but manageable conditions. Installing ceiling batts during winter delivers immediate comfort improvements and heating cost reductions. Just ensure adequate lighting as days are shorter.
Spring (September - November): Another excellent installation period. Temperatures are moderate, and finishing before summer heat arrives ensures your home stays cooler through the hot months ahead.
Environmental Impact and Sustainability
Choosing environmentally responsible ceiling batts contributes to both immediate home performance and broader sustainability goals. Modern insulation manufacturing has evolved significantly, with leading brands prioritizing recycled content and low-emission production methods.
Glasswool ceiling batts typically contain 80% or more recycled glass content. The ECOSE® Technology used in Earthwool products replaces traditional formaldehyde-based binders with plant-based alternatives, reducing manufacturing emissions by up to 70% compared to conventional processes.
Polyester batts are manufactured from recycled plastic bottles, diverting waste from landfills while creating high-performance insulation products. Each square metre of polyester insulation can incorporate 50-60 recycled PET bottles.
Environmental benefits of quality ceiling batts:
- Reduced heating and cooling energy consumption
- Lower greenhouse gas emissions from home operation
- Recycled content reduces raw material extraction
- Long service life (40+ years) minimizes replacement waste
- Recyclable at end of life in most cases
The greatest environmental benefit comes from the energy saved over the insulation's lifetime. Properly installed R5.0 ceiling batts can prevent several tonnes of CO₂ emissions annually compared to an uninsulated ceiling, far exceeding the embodied energy in manufacturing.
Troubleshooting Common Issues
Despite careful installation, some homeowners experience issues with ceiling batt performance or discover problems requiring attention. Understanding these situations helps identify solutions quickly.
Condensation in roof space: Usually indicates ventilation issues rather than insulation problems. Ensure adequate eave and ridge ventilation exists. Check that bathroom and kitchen exhaust fans vent outside, not into the roof cavity. Ceiling batts themselves don't cause condensation but can make existing issues more visible.
Uneven temperatures between rooms: May indicate gaps in insulation coverage, particularly around the ceiling perimeter or near the access hatch. Carefully inspect these areas and add batts as needed. Ensure batts extend fully to external walls without compression.
Pest intrusion: Rodents and possums sometimes disturb ceiling batts. Neither glasswool nor polyester provides nesting material or food, but animals may push insulation aside while travelling through roof spaces. Block entry points and reposition displaced batts after pest removal.
Settling or sagging: Quality ceiling batts shouldn't sag or settle significantly when properly installed. If this occurs, batts may have been installed wet, compressed too tightly, or are damaged. Inspect and replace affected sections.
Maximising Performance Through Proper Coverage
Achieving rated thermal performance requires complete coverage without gaps, compression, or thermal bridges. Pay special attention to commonly overlooked areas that compromise overall effectiveness.
The ceiling perimeter where walls meet the roof structure often gets inadequate insulation. Carefully push batts into these corners without compressing them. Small gaps here create significant heat loss paths that reduce whole-ceiling performance.
Around the access hatch, maintain full insulation coverage while ensuring the hatch itself is also insulated and sealed. An uninsulated access hatch creates a major thermal weak point regardless of how well the rest of the ceiling is insulated.
Critical areas requiring careful ceiling batt installation:
- Ceiling perimeter and wall junctions
- Around access hatches and openings
- At ceiling penetrations (pipes, cables, ducts)
- Where ceiling heights change (bulkheads, coffered sections)
- Above built-in wardrobes and cupboards
Don't neglect areas above enclosed spaces like wardrobes. While these zones don't require ventilation, they still need insulation to prevent thermal bridging into the roof space through these sections.
Installing quality ceiling batts delivers substantial energy savings, improved comfort, and long-term value for any Australian home. Understanding R-values, material types, and proper installation techniques ensures you achieve the best possible performance from your insulation investment. Whether you're building new, renovating an existing home, or simply looking to reduce energy costs, ceiling batts provide proven thermal and acoustic benefits that pay dividends for decades. Insulation Supplies Australia offers Victoria's widest selection of ceiling batts with expert advice, competitive pricing, and fast delivery across Melbourne and regional areas, making it simple to find the right products for your project and start enjoying a more comfortable, energy-efficient home.